


How to Organize Cables on a Dual-Monitor Desk Setup?
A clean dual-monitor desk starts with a cable plan. Route each connection by function, keep power and signal cables easy to trace, and secure slack where it cannot catch on a drawer or pull a display out of position.
This six-step method works for a home office, gaming station, or creative desk. It covers dual monitor cable management, monitor riser cable management, and everyday desk cable organization without requiring a permanent hole in the desk.
Key Takeaways
- Map every cable before attaching clips or sleeves.
- Give each monitor a separate route and leave a small service loop near the display.
- Keep power bricks and signal cables separated where practical.
- Secure cables to the desk structure, not to moving drawers or adjustable parts.
- Test full monitor movement and unplug one device before considering the setup finished.
Why Dual-Monitor Cable Management Gets Messy
Two displays multiply more than the number of screens. Each monitor may have power, HDMI, DisplayPort, USB, audio, and lighting connections. Add a dock, webcam, speakers, laptop charger, and power strip, and the cables quickly cross the same small area behind the desk.
The common mistake is hiding everything before understanding the connections. That makes future troubleshooting harder and can create tension at the ports. A useful system keeps the desk visually calm while preserving a clear path from every device to its power or data source.
Step 1: Map Every Connection Before You Route Anything
Start with the equipment switched off. Write a short inventory with one line for each device: left monitor, right monitor, computer, dock, speakers, webcam, charger, and power strip. Record both ends of each cable and mark which cables must move with the monitor.
| Cable group | Examples | Routing priority |
|---|---|---|
| Power | Monitor adapters, laptop charger, power strip | Keep bricks supported and away from moving parts |
| Video | HDMI, DisplayPort, USB-C video | Use a direct, low-tension path to each display |
| Data and accessories | USB, webcam, audio, Ethernet |
Group by destination and label both ends |
Take a photo of the working connections before you move them. This simple record is useful when a monitor stops receiving a signal after cleaning or a desk rearrangement.
Step 2: Create Separate Routes for Each Monitor
Give the left and right displays their own routes behind the desk. Run each video and power pair toward the same side, then bring both routes together only near the power strip or computer. This makes it easier to identify which screen has a problem.
Leave a small service loop behind each monitor. The loop should provide enough slack for normal angle changes and cleaning, while staying short enough that it cannot droop into your knees. Avoid tight bends at HDMI, DisplayPort, and USB-C connectors.

Step 3: Use Monitor Riser Cable Management to Hide Slack
A monitor riser can provide a stable reference line for cables. Route cables behind the platform or along its rear edge, then drop them toward the computer and power strip in one controlled bundle. Keep the front and sides of the riser clear so the desk still looks open.
If the riser has a shelf or drawer, keep cables outside the drawer's moving path. Use adhesive clips on the desk's rear surface or an under-desk tray for fixed runs. A drawer should store disconnected accessories, not carry a cable that is being pulled every time it opens.
Check the riser's feet and support points after routing. Cables should never sit under a foot or prevent the platform from making full contact with the desk.
Step 4: Separate Power, Signal, and Accessory Bundles
Grouping every cable into one thick sleeve looks tidy at first, but it can make the bundle heavy and difficult to service. Create three practical groups: power, display signal, and low-voltage accessories. Cross groups only where the desk layout requires it.
Use hook-and-loop ties instead of permanent zip ties for cables you may replace. Secure bundles at several points so their weight does not hang from a monitor port. Support large power bricks in a tray, cable basket, or mounted pouch rather than leaving them suspended.
Step 5: Label Both Ends and Keep a Service Loop
Labels are most helpful when they describe the destination, not only the cable type. “Right monitor - DisplayPort” is more useful than “DP cable.” Label both ends because the computer side and monitor side are rarely visible at the same time.
Keep a short loop near connection points, especially if you use a laptop dock or frequently rotate a display. The loop absorbs small movements and prevents the cable from pulling directly on the port. Avoid coiling excess cable tightly around a power adapter because heat and pressure can make maintenance harder.
Step 6: Test Movement, Access, and Troubleshooting
Turn the system on and test one screen at a time. Confirm image output, refresh settings, USB accessories, audio, and charging. Then move each display through its normal adjustment range and open every drawer or shelf that you use daily.
- Check that no cable touches a sharp desk edge.
- Confirm that neither monitor pulls the other when angled.
- Open drawers fully and close them without catching a bundle.
- Unplug one cable and verify that its label identifies the correct device.
- Leave enough slack to clean behind the desk without disconnecting everything.
If a connection fails, start at the device and follow the labeled route to the computer or power source. A good cable system turns troubleshooting into a short visual inspection.
Choose Accessories That Match the Desk
Use the smallest accessory that solves the routing problem. Adhesive clips suit light signal cables on a smooth rear surface. Hook-and-loop ties suit bundles that change. An under-desk tray suits power strips and adapters. A sleeve suits a long, fixed run between the desk and computer.
Before applying adhesive, clean and dry the surface and test the clip location. Do not attach a clip where it will carry the full weight of a power brick or where removal could damage a delicate finish. Keep vents, switches, and reset buttons reachable.
FENGE Setup Tip: Combine Elevation and Organization

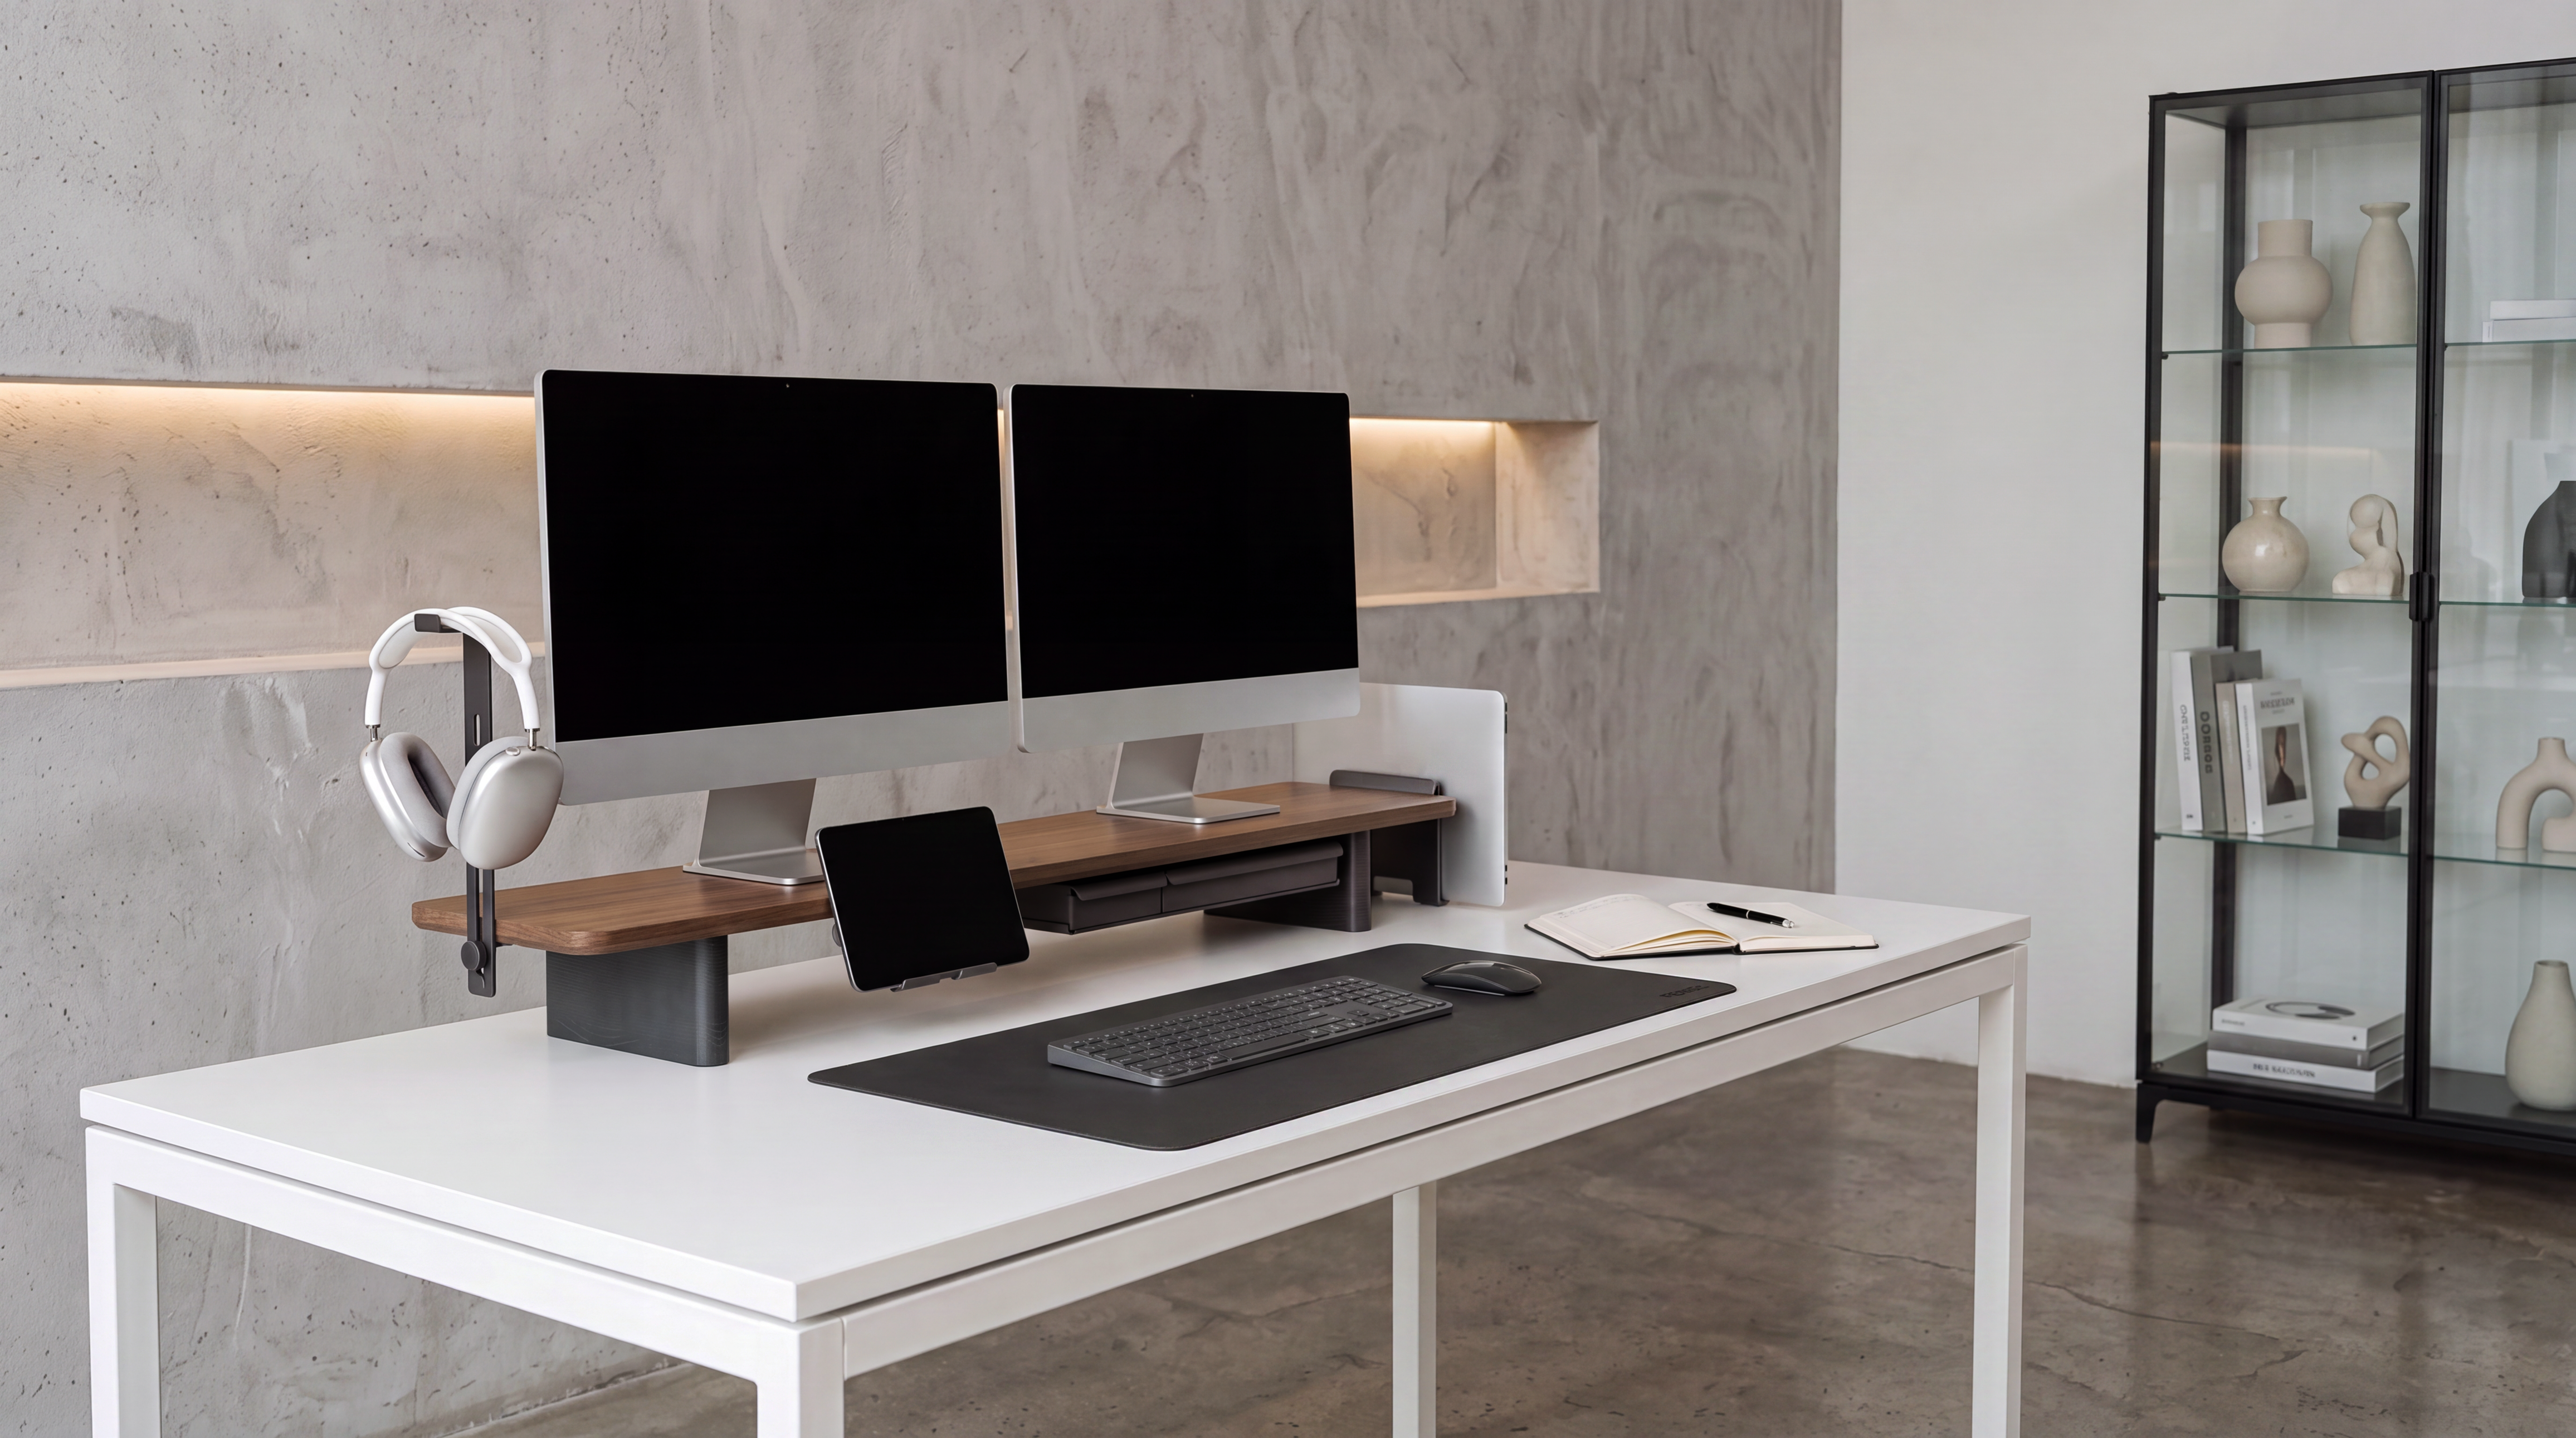
A well-chosen monitor riser can make cable routing easier by raising the screens and creating a defined space underneath. The FENGE monitor-stand collection includes platforms with different widths and storage layouts. Compare the product's usable dimensions with your monitor bases, then route cables along the rear edge while keeping drawers and shelves unobstructed.
For a drawer-equipped platform, store spare adapters and disconnected cables in the drawer, while active cables follow a fixed rear route. This keeps desk cable organization practical when you change devices instead of forcing every cable into one permanent bundle.
FENGE Rodin Series monitor stands are designed with cable organization in mind. A dedicated channel behind the stand keeps excess cables neatly routed, so you can position the stand close to the wall without worrying about tangled or pinched wires.
Build a Cleaner Dual-Monitor Workspace
Compare monitor riser sizes, storage layouts, and platform designs before you finalize your cable route.
Frequently Asked Questions
How do I manage cables for two monitors?
Map every connection, give each monitor a separate route, secure power and signal bundles independently, label both ends, and test the full range of movement before hiding the remaining slack.
Can a monitor riser help with cable management?
Yes. Its rear edge can provide a consistent route and its open space can keep cables away from the keyboard area. Keep active cables outside drawers and verify that the riser feet sit flat.
Should HDMI and power cables be separated?
Separate routes make troubleshooting easier and reduce a heavy bundle at the monitor port. Keep them apart where your desk allows, and avoid tight bends or tension on either cable.
How much cable slack should I leave?
Leave enough for normal cleaning and monitor angle changes, then remove the rest with a hook-and-loop tie. The correct amount depends on your desk, monitor movement, and port locations.
Final Recommendation
Effective dual monitor cable management is a repeatable system: map the connections, route each display separately, secure bundles to fixed surfaces, label both ends, and test before concealing anything. A monitor riser can support that system when its platform and storage match the desk.
Keep one release point in every bundle and leave active ports accessible. The result is a cleaner desk that remains easy to change, clean, and repair.
Related Articles
Monitor Stand With Drawer: How to Choose the Right One for Your Desk

Share:
Monitor Stand With Drawer: How to Choose the Right One for Your Desk
Before and After: How a Monitor Riser Changes a Small Desk Setup