


Before and After: How a Monitor Riser Changes a Small Desk Setup?
A monitor riser can make a small desk easier to use by lifting the monitor base onto a platform and creating accessible space underneath. The biggest improvement comes when that space has a clear job: storing your keyboard between tasks, holding a notebook, or keeping small accessories together.
If you're looking for small desk setup ideas, start with the things you keep moving out of your way. A notebook that never sits flat, a charging cable across the mouse area, or a keyboard with nowhere to go tells you what the layout needs.
Below, we'll walk through an illustrative before-and-after setup. It's a planning example, not a documented customer makeover. You can use the same checks to decide whether a riser would improve your own desk.
Before: Everything Competes for the Same Surface
Picture a small home-office desk with one monitor, a keyboard, a mouse, a notebook, and a phone charger. The monitor base sits toward the back. A few adapters and spare cables collect around it. When you open the notebook, it overlaps the mouse area.
Nothing here is unusual. Each item is useful, but the layout makes every object compete for the same flat surface. Adding another tray may help sort the clutter while leaving even less room to work.
Before moving anything, identify the specific inconvenience. Do you need a place to write during calls? Room for a laptop? A clear surface after work? That answer determines what belongs beneath the monitor and what needs to leave the desktop entirely.

After: A Desk Shelf Gives Everyday Items a Place
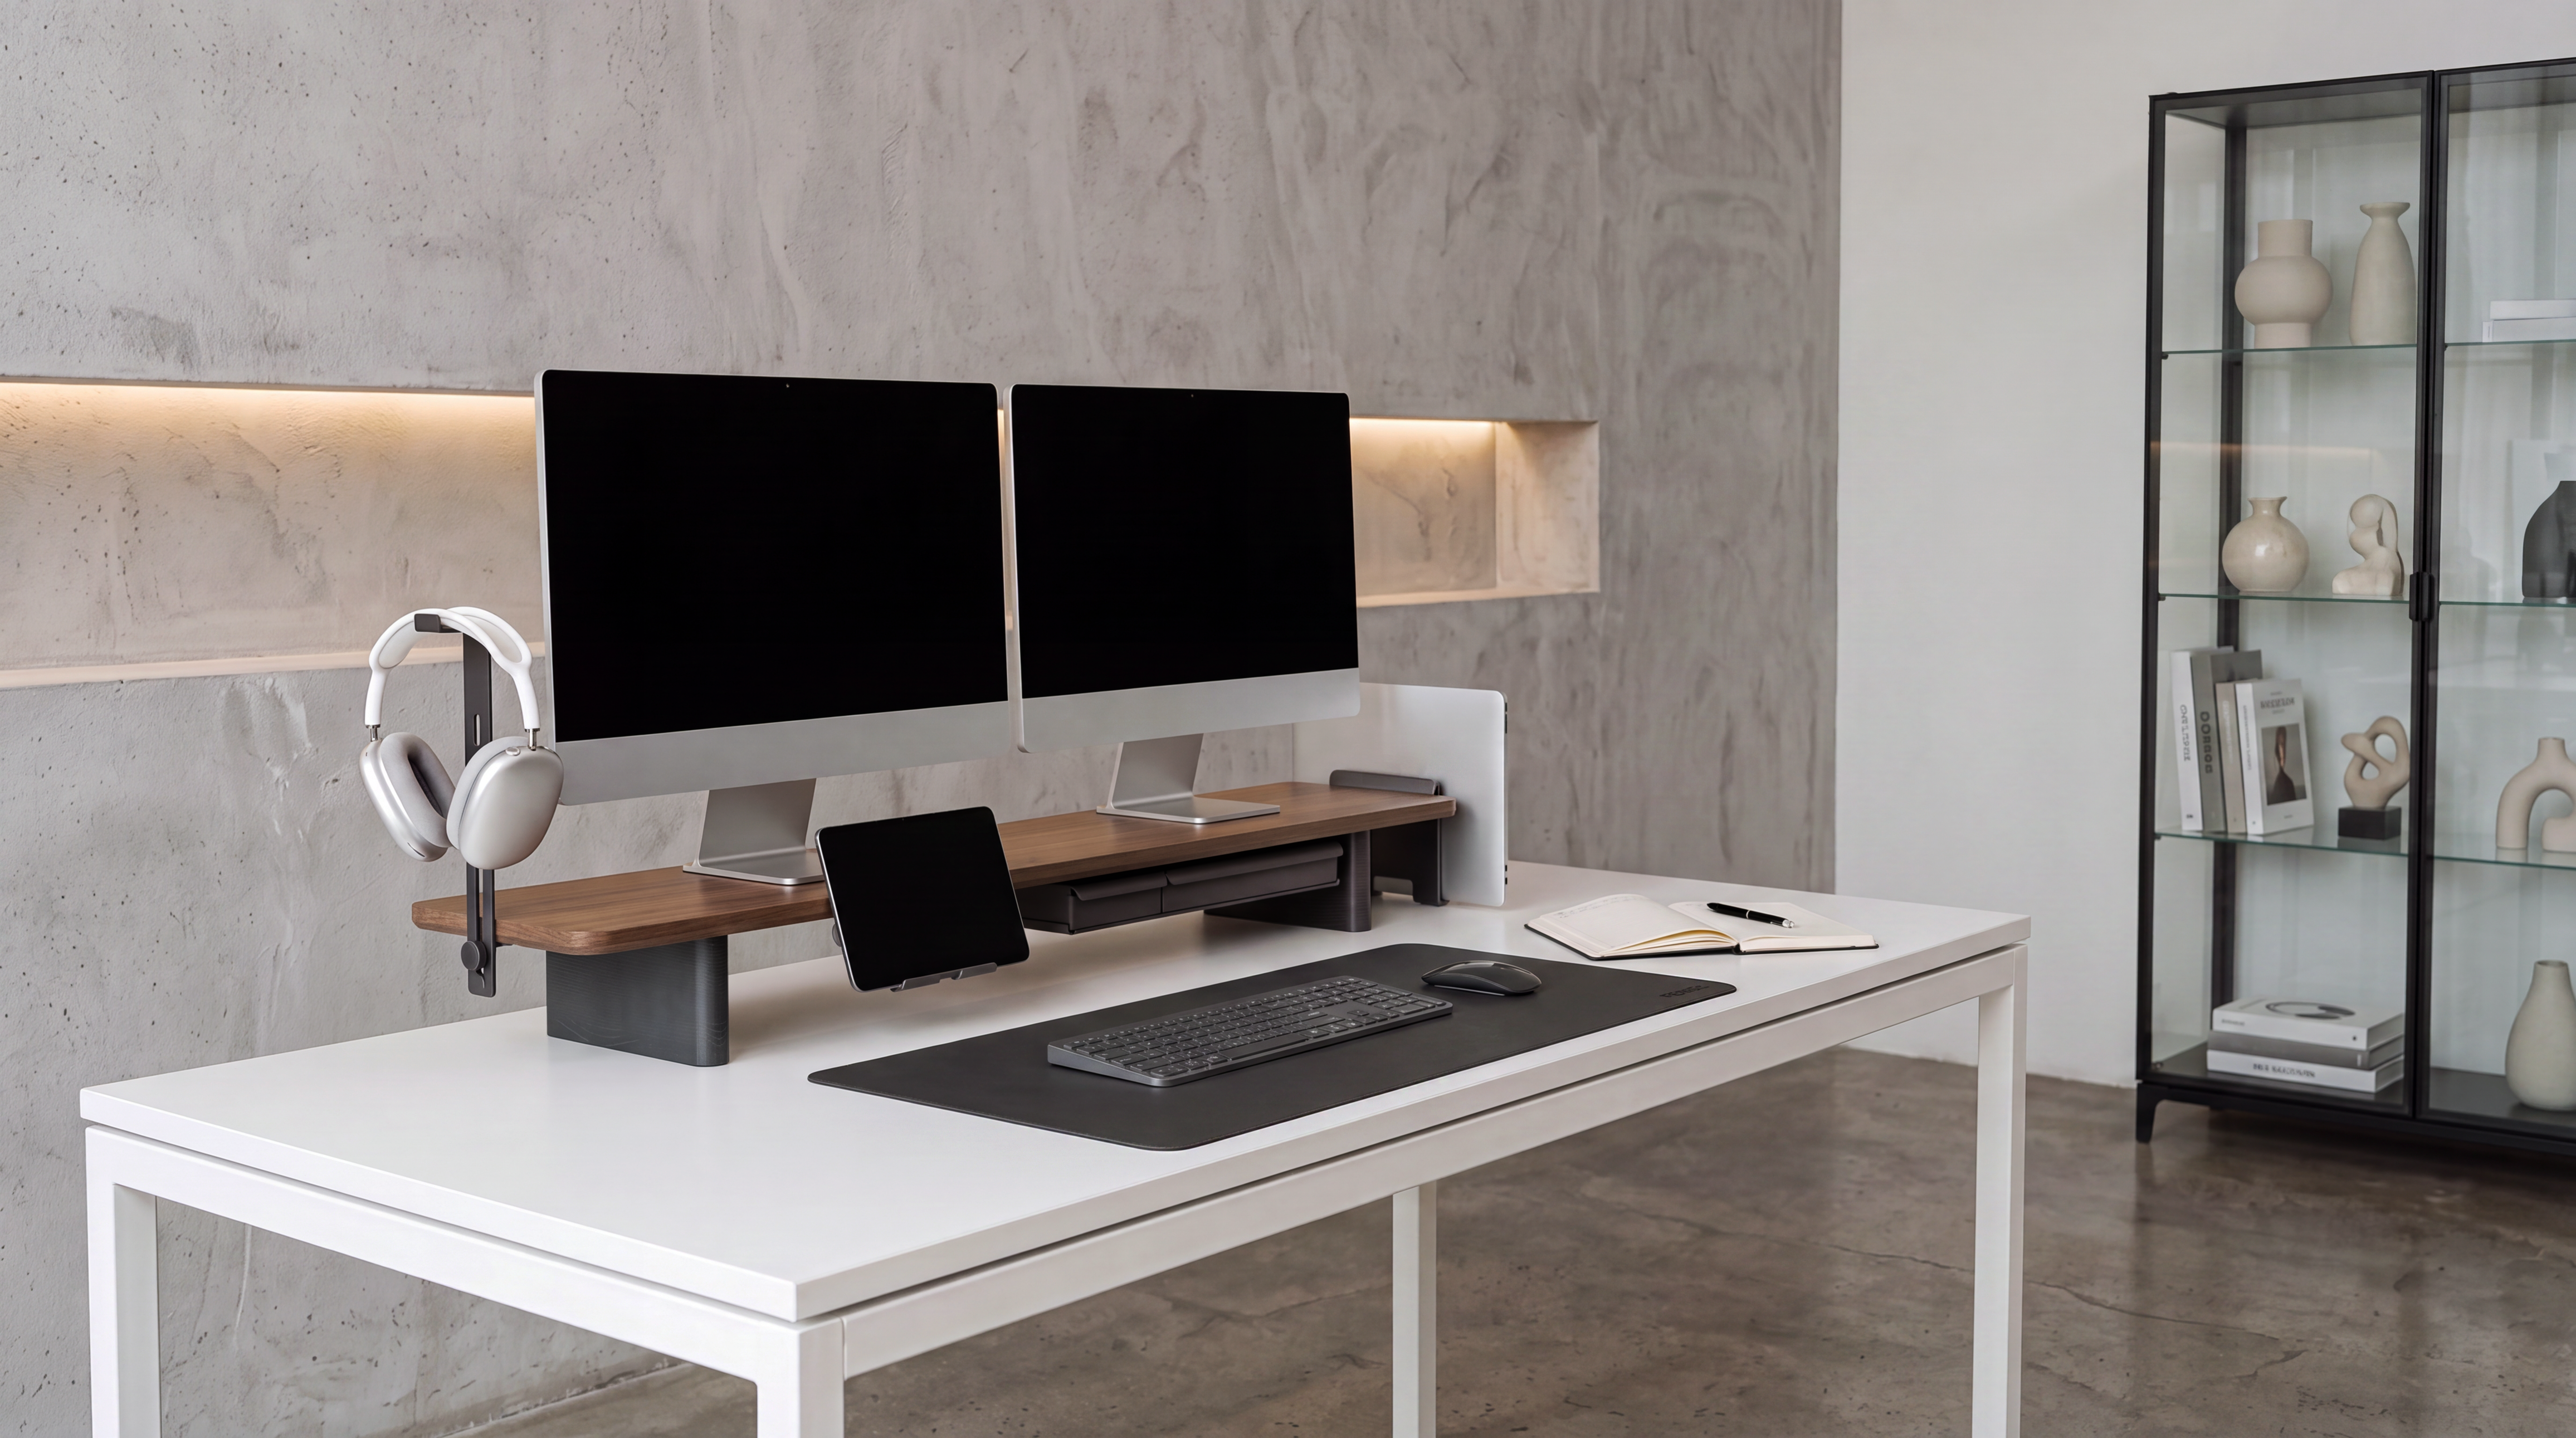
In the revised layout, a suitably sized monitor riser supports the monitor and its original base. The space below holds a notebook or provides a place to slide the keyboard when typing is finished. Small accessories move into a drawer or a shallow tray, and the charging cable follows the back edge.
The desk is still the same size. What's changed is how you use the area around the monitor. Instead of spreading storage across the work surface, you're using an upper level for the screen and a lower level for selected items.
A wider shelf won't automatically give you a better result. Its feet, drawers, and accessories need room, too. The useful gain is the accessible space left after those parts are in position.
| Area | Before | After, if the riser fits |
|---|---|---|
| Monitor base | Occupies the main desktop | Rests fully on the upper platform |
| Keyboard | Stays in the writing area between tasks | Slides underneath when not in use |
| Small accessories | Spread around the screen | Have an assigned drawer or tray |
| Charging cable | Crosses the mouse area | Follows a reachable route along the rear |
| Notebook | Overlaps other equipment | Has a usable position for notes or writing |

5 Small Desk Setup Ideas to Try in Your Own Workspace
1. Measure the Space You Actually Work In
Measure desk width and depth, then place your keyboard, mouse, and open notebook where you want to use them. Mark the proposed riser footprint with removable paper. Include space behind it for plugs and cable bends.
Now check the monitor base against the platform's usable width and depth. All support points must fit as the manufacturer specifies. Screen size alone won't tell you whether a base will fit.
For under-shelf storage, measure the clear opening between the supports and beneath any drawer. The riser's overall dimensions can be much larger than the opening available for a keyboard.
2. Choose a Computer Monitor Riser That Suits Your Screen Position
Sit in your normal working position and check whether the monitor actually needs to be higher. Raising an already well-positioned screen can make the setup less comfortable.
If your monitor has a height-adjustable stand, account for that adjustment when choosing the riser. Keep the screen readable without leaning forward or tipping your head back. Leave enough desk depth for a comfortable viewing position.
Check the load rating for everything that will sit on the platform, including the monitor's original stand. Once assembled, the riser should sit flat on the desk with cables clear of its feet.
3. Give the Lower Level One Clear Storage Job
Choose between parking the keyboard, keeping a notebook handy, or storing small accessories. Trying to do all three in a narrow opening usually brings the clutter back.
A monitor stand with drawer can keep spare cables, pens, and adapters out of the working area. Check drawer depth and the space needed to pull it open. Store disconnected accessories there, keeping active cables away from the drawer's moving parts.
If you slide the keyboard underneath between tasks, bring it back into a comfortable position before typing. Storage space shouldn't dictate where your hands work.
4. Keep One Accessible Route for Everyday Cables
Route monitor cables toward the rear and secure loose sections with suitable clips or reusable ties. Leave enough slack for the adjustments you normally make, without allowing cables to hang across the writing area.
Keep the charging lead you use daily easy to reach. A hidden connector that requires moving the whole riser each time will become an inconvenience. Keep powered equipment ventilated and leave switches accessible.
5. Check the Layout During a Normal Task
Open a document, type a paragraph, use the mouse, and take handwritten notes. Then plug in your phone and open any storage drawer. These small actions reveal problems that a tidy photograph can miss.
Check the desk in both working and storage modes. A keyboard tucked neatly away may look great in an after photo, but you still need adequate mouse room when it's pulled out. Adjust the layout until both modes work.
How to Maximize Small Desk Space Without Overfilling It
Separate what must stay on the desktop from what simply needs to be nearby. Your keyboard and mouse need working space. Spare charging cables and occasional-use stationery can go in a drawer or another storage area.
For a small room desk setup, consider the space around the furniture, too. Leave room to pull out the chair, open drawers, and reach outlets. Moving everything off the desktop and into the leg area can make the room harder to use.
Keep one piece of the desk deliberately available for changing tasks. It might hold a notebook in the morning and a personal laptop in the evening. Leaving that area unassigned can be more useful than filling it with another accessory.
Match Your Small Desk Organization Plan to a FENGE Riser
Choose a FENGE model around the problem you've identified. Drawer storage and a laptop workstation serve different needs, and either design still has to fit your desk.
Matrix M210: Keep Small Essentials Together
If your desk collects pens, adapters, and spare charging cables, consider the FENGE Matrix M210 Monitor Riser. Its drawer provides a dedicated place for small essentials while the upper platform raises the monitor.
As part of the Matrix Series, the M210 also offers a route toward a more personalized setup through accessory configurations. Start with the storage you need, then check which accessories are included or sold separately. On a compact desk, leave room to use the drawer before adding more components.
Rodin A206: Designed for Smaller Desks

If the Matrix M210 above is too large for your setup, consider the more compact FENGE Rodin A206 Monitor Riser. Its two-tier design raises your monitor while creating storage space between the shelves for notebooks, jewelry, and other small items. A groove in the second tier lets you position your phone upright or keep pens within easy reach.
Before adding it to a small desk, plan the full layout. Even when the desktop itself stays the same size, a few affordable changes can help you make better use of the available space.
You can also explore the Yugen Y206 Monitor Riser and Nova H208 Monitor Riser. If you have questions before rearranging your workspace, contact the FENGE team for help choosing a suitable option.
What Makes a Desk Transformation Worth Keeping?
The clearest improvement is a task that becomes easier. You can open a notebook without shifting your mouse, find the adapter you need, or put the keyboard away without rearranging the entire desk.
Use the setup for a few ordinary workdays and notice which items drift back into the center. If the same accessory keeps appearing there, its assigned storage location may be inconvenient. Change that location before adding more storage.
A riser may be the wrong fit if it crowds the screen forward, raises it too high, or leaves no usable opening underneath. In that case, a smaller platform, a different storage arrangement, or a suitable monitor arm may solve the problem better.
Give Your Small Desk a More Useful Layout
Start with your monitor base, working depth, and the items you want to store. Consider the Matrix M210 for drawer storage or the Rodin A206 for a more compact, two-tier layout. Check the current dimensions and configuration before choosing a model.
Frequently Asked Questions
Does a monitor riser actually save desk space?
It can create usable space underneath the monitor, especially for keyboard parking or small-item storage. The gain depends on the riser's supports, clear opening, and how much room remains for everyday work.
How do I know whether my keyboard will fit underneath?
Compare its width, depth, and tallest point with the clear opening beneath the riser. Account for raised keyboard feet, the cable connection, and anything hanging below the shelf, such as a drawer.
Is a drawer better than an open shelf for a small desk?
A drawer suits small items you want contained. An open shelf suits items you reach for frequently or a keyboard you store between tasks. Choose based on what you need to store and how much clearance the design leaves.
How can I make a before-and-after comparison useful?
Photograph the same desk and equipment from the same angle. Compare the layout with the keyboard ready for use, then show storage mode separately. Check writing space, mouse movement, and access to drawers rather than judging appearance alone.

Share:
How to Organize Cables on a Dual-Monitor Desk Setup